Why Microsoft’s temporary access passes are a godsend for IT professionals and how they are a game changer in modern computer setup processes when we’re moving away from pixie boot and image deployments.
What’s a temporary access pass in the Microsoft world? The temporary access pass is built to allow for easier onboarding and recovery. Onboarding often required from IT professionals to set up end user devices and IT equipment. This often includes having to ask the end user for their passwords, and having them sent over non-encrypted channels like SMS or at times, email. In recovery, they can be generated as a temporary recovery code much like recovery codes are often used in case you loose your multi-factor device on sites like Twitter. In this scenario it’d be a way to quickly get into your account temporarily to set things back up again after loosing access, orchestrated by your administrator.
How do we make temporary access passes available? Start by going to Azure Active Directory. Under the “Manage” category, you’ll find “Security”.


Pressing “Security”, you’ll get to the security functions page where you’ll find Conditional access, Identity protection and MFA settings. In the “Manage” category here, you’ll find “Authentication methods”:

Pressing this button will give you the following page:

You’ll see how temporary access passes is not enabled. In most tenants you’ll find Microsoft Authenticator enabled, but most other solutions are not. Pressing the Temporary Access Pass link, you’ll get the activation and management page:

We will first need to enable the service. I’m going to enable it for my entire tenant immediately. It’s not really a disruptive change, so I can just go ahead and activate it without pressing “save”. This opens the configuration ability in addition to targeting capabilities. You can choose to just let specific people generate Temporary Access Passes or everyone. I’m going to allow everyone, as the tenant is just my own.

Moving over to the “Configure” tab, we can make some choices on how the temporary access passes should work:

Minimum lifetime is how short the use of the temporary access pass should be (also known as minimum time to live) and maximum is how long you’ll allow it to be active. The minimum activation is 10 minutes and the maximum activation is 30 days. The user will be able to set the lifetime of the pass within the limits you’ve set here. You can configure the default by changing the slider at default lifetime.

If you’re a security guy like me, seeing a character length of 8 makes you flinch a little, but it’s not such a bad idea. First of all; the temporary access pass is supposed to be used as an onboarding function, meaning you write it once, and then it should expire. Second of all; Making a 128 character password may be more secure, but also much more of a hassle to put in when setting up a user device. If you’ve fat-fingered in your secure credentials for paypal on a playstation, you know what I mean. I’ve come up with a compromise where I set character length to 10 and require one-time use of the passes. My configuration ended up looking like this:

Remember, you don’t need to copy my configuration – your organization may have different time-lines, business requirements and different service license agreements between the service desk and users. Configure the policy to match what your company needs and want. When you’re done, press the “save” button at the bottom of the screen:

You’ll be thrown back to the “Authentication methods” screen from the start, with the “Temporary Access Pass” function allowed for all users:

How to activate a Temporary Access Pass?
The important thing to remember when it comes to Temporary Access Passes is how they are an administrator function. You’ll need one of the following privileges in order to use the temporary access pass function:
| Privilege | Available functions in TAP |
| Global Administrator | Create, delete, view for any user except themselves |
| Privileged Administrators | Create, delete, view for admins and members, except themselves |
| Authentication administrators | Create, delete, view on members except themselves |
Global reader can see there’s a temporary access pass available, but not the code, so I’m not adding it to the overview.
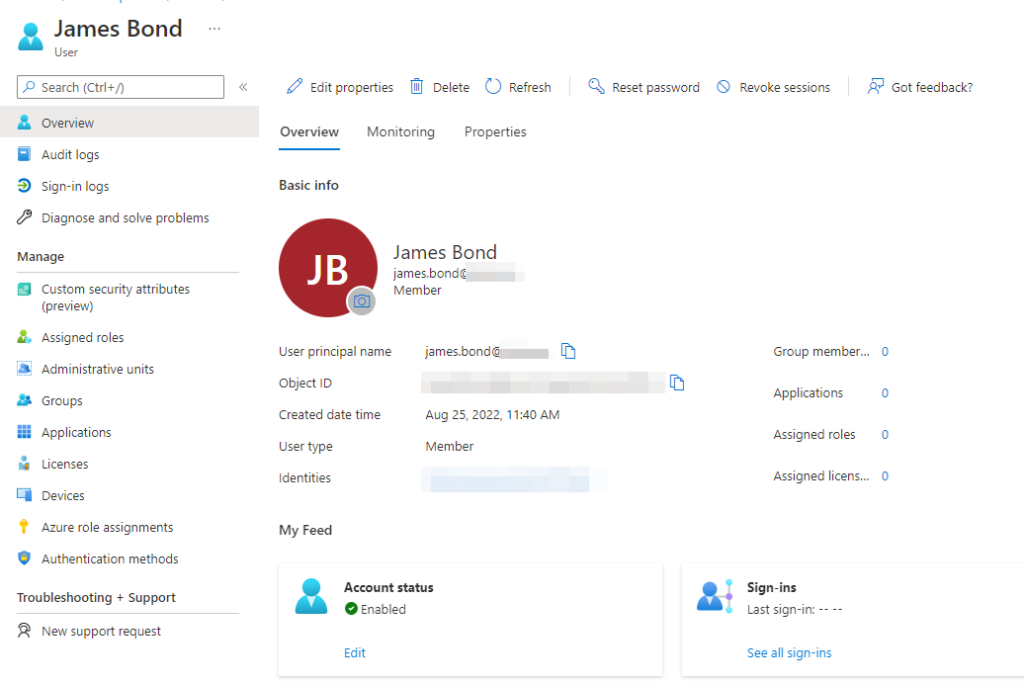
I’m going to create a user and show you how it works in a real situation. I have a test user called “James Bond” who has never logged in and that I want to set up a computer for.

First we need to set up the temporary access pass. We do so by accessing “Authentication methods” for the user under the “Manage” category. Once there, you press the “+Add Authentication Method”

When this button is pressed, you can create a new authentication method by pressing the drop down button:

Pressing the Temporary Access Pass and pressing the “Add” button in the bottom of the window grants you the TAP creation process.

As you remember, I set the activation standard to 1 hour, and maximum to 4 hours. I can have more or less depending on my administrative needs. I’ve required these codes to be single use as well, leaving the switch for “One-Time use” at yes. Pressing “Add” in the bottom generates the access code.

Going back to the users login, we’ll log in using the username, and we’ll get the following login prompt:

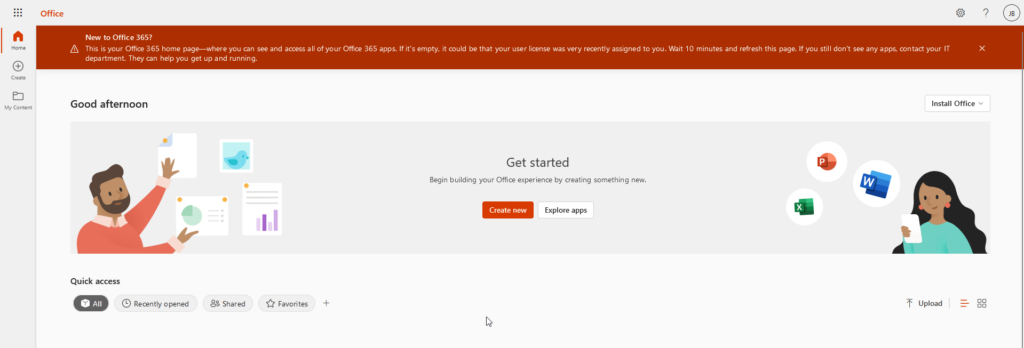
Throwing in the access pass code, and pressing sign in, we’ll be presented with a logged in user:

If you’re using self service password reset, will the user be requested to register for that, but that’s skippable. Visiting the link Microsoft requested: mysecurityinfo
Visiting the link we’re presented with the following page:

In the scenario of a lost device, the user or administrator should visit the “Sign out everywhere” and new sign-in methods registered together with a password change would be a complete solution.
Remember that this is an administrator driven function and not supposed to be used for anything else than emergency or onboarding situations.
Thank you for reading.